It wasn’t too long ago that most of us used to backup our iPhone data on our computers. However, since cloud storage platforms like DropBox, iCloud, and Google Drive became popular, the days of backing up data on iPhone using our Macs are relatively behind us. However, the problem with these cloud storage solutions is that they often come with a price, and not many of us are willing to pay it every month. And while they also tend to come with free storage, space offered tends to be limited, and it’s only a matter of time before your cloud storage space runs out.
Luckily, you can still back up your iPhone to your laptop quite easily and even with the new macOS updates, the process is still practical. And while using this method these days has been somewhat hidden, it can still be done. Now, the main reason why you would want to back up your iPhone data is to avoid data loss. If your device ends up malfunctioning or wiped out for whatever reason, you risk losing all your contacts, notes, photos, calendar schedules, etc. However, if you have a backup stored on your Mac, you can prevent such a problem from happening.
Backup iPhone Data To Mac
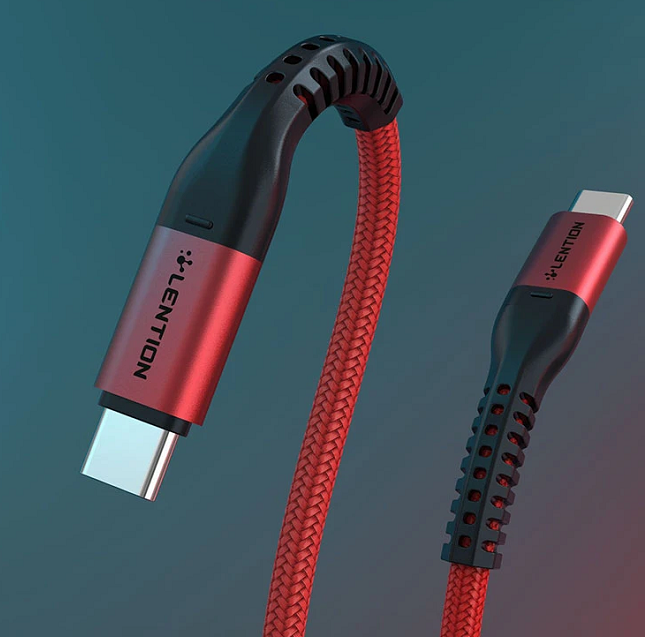
The first thing you need to do is to connect your iPhone to your Mac, and you can accomplish this by using a usb c cable 10 ft. If you don’t already own one, then we suggest purchasing Lention’s (CB-CCT) model. It provides a wide working range and is universally compatible with any USB-C capable device. Moreover, they also come with fast data transfer speeds of up to 480Mbps and power delivery of up to 100W, making them perfectly ideal for fast charging. Plus, they are highly durable, as they are made up of an aluminum alloy case, a nylon braided cable, and a TPE jacket to help guarantee a long lifespan and flexibility.
Once plugged in, open the “Finder” window, under “Locations” select your iPhone > “General” > “Backups.” From there, you should be able to back up all the data from your iPhone to your Mac. You can also decide to encrypt the backup as well for extra security.
Backup iPhone Data to iCloud
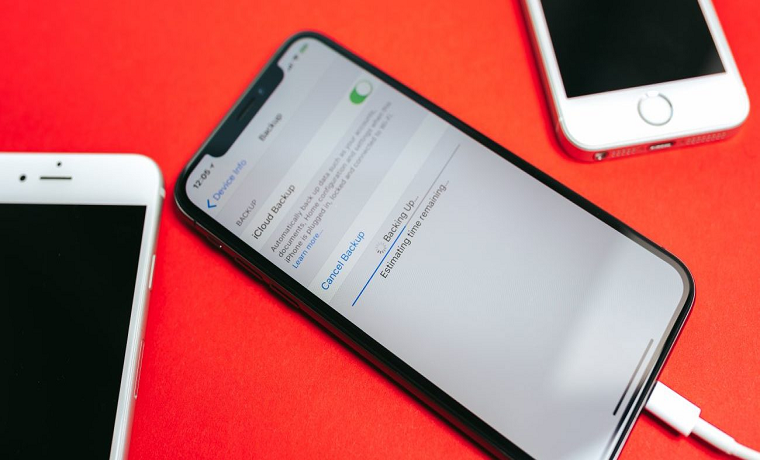
Alternatively, if you want to back up data to iCloud and are willing to pay the monthly cost for extra storage, then you can easily do so directly from your iPhone. Simply open Settings > “Apple ID” > “iCloud” > “iCloud Backup”. From there, you can activate automatic backups to ensure that your iPhone data will backup. However, keep in mind that if you end up running out of storage, then the automatic backups will stop until you create more space. In such instances, you can always either delete the files stored on your iCloud or move them to an external storage device instead, using your Mac.
Since all iCloud data is linked to all your devices, you only have to plug in an SD Cars or flash drive and transfer the data over. However, these days with Mac being so limited on connectivity ports, it is best that you use a portable usb hub to facilitate the transfers. If you don’t know what these devices are, they expand your Mac’s connectivity ports and offer a wider range of options to plug into your Mac. In this case, we recommend purchasing the Lention CB-D53 macbook pro standing dock. It is a convenient and practical choice, providing 100W Power Pass-Through, a 4K HDMI port, a Gigabit Ethernet port, 3.5mm Audio jack input, 3 USB 3.0, and 2 USB 2.0 ports, all in one device. It also features a removable stand that provides either vertical or horizontal orientation. This makes it compact and useful, especially for those who need more space on their desks at home or in the office.
Restore iOS backups From Mac
Learning how to back up data from your iPhone to Mac is one part of the process. The other involves knowing how to restore that data, when the time comes. Luckily, the process is fairly simple as well. All you need is to plug in your iPhone to your laptop, open Finder > Locations > General > Backups > Restore Backup.

Syncing iPhone Data To Mac
While backups are very crucial, there are times when you need to sync data across your Apple devices. But iCloud isn’t working, or perhaps your storage space is too full. This is an important feature for those who work remotely, instead of always carrying their MacBooks around. In most instances, we would recommend using a third-party app like AnyTrans to help sync your iOS data to your MacBook.
Once your iPhone and Mac are connected, the app will list all the files and data present on your device. And allow you to sync all the data to your Mac instantly. Additionally, the interface also conveniently categories your photos, music, videos, messages, and more, allowing you to select what you want to synchronize.
Alternatively, if you want to carry your Mac around with you, but are finding it to be a rather stressful experience, you can always use a protective laptop sleeve. These accessories are designed to be compact and easy to carry. Moreover, they will ensure that your laptop stays safe from any risk of dust, damage, or spills. If you are looking for one, then we suggest checking out the models on offer from Lention. They are highly affordable, come in several colors, and are made using durable fabrics, such as neoprene and leather for extra protection!

