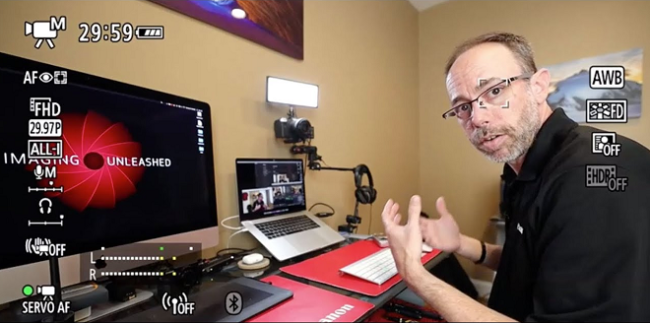
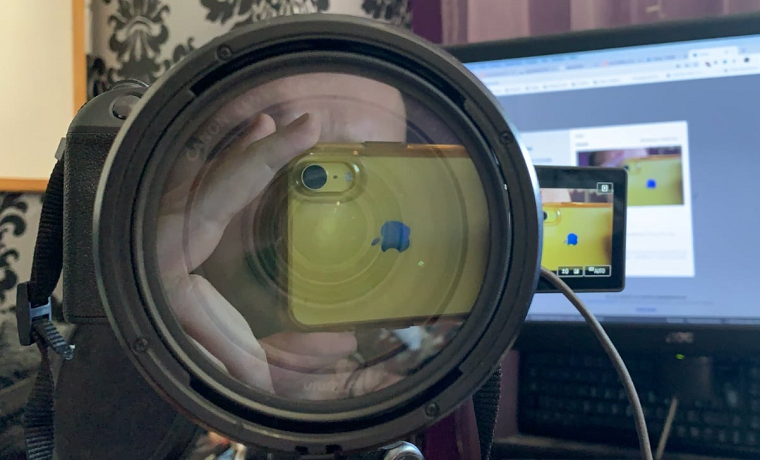
The use of webcams might at times be boring to an extend that one opts to go for an alternative. This is due to the many reasons which might include webcams not able to capture a clear picture of the focal object especially in low lights. However, you can test your webcam by clicking here. The introduction of canon cameras can help solve such scenarios. The cameras use the Autofocus Dual Pixel technology that enables you to select the focal point that the camera should concentrate. To achieve this, the camera should be setup in two ways, that is using the HDMI output or EOS webcam utility software.
SETTING UP A CANON CAMERA USING THE HDMI OUTPUT

The following procedure are followed to ensure that all works well;
- Ensure that the camera or camcorder has a fully charged battery or you can go for an AC adapter. This is to ensure that there is no power interruption when the camera begins to operate.
- Using a HDMI cable, connect it to the video capture card, then from the capture device, connect the USB cord to the computer.
- Insert the smaller part of the HDMI plug to the camera’s HDMI port. This enables the transfer of picture or photos to the computer.
- Now the camera or camcorder is ready for use. You turn it on and set it into movie mode in order to allow it capture images in form of movies or videos.
- Selecting the best resolution for the camera is advisable. However, this is done by pressing the “HDMI info disp” which is a menu item and proceed to set the desired resolution.
- This step is different for cameras and camcorders with clean HDMI. For the cameras, press the menu button, select the shooting setting, select the red tap with a camera icon, then select the (HDMI info disp). However, for the camcorder with clean HDMI, you just skip this process and move to procedure number 6.
- This step is meant to bother on the capability of the battery in the camera to operate for a maximum period of time. However, there is no assurance that the battery will last long so it is advisable to have a backup battery. To do this, you move to the Main menu screen, select the (Function setting) which exist as a yellow tab with a wretch icon. You will find a drop-down list where you have to select the (Power saving) setting, click on the (Auto power off), then select the (Disable) mode. After this step is complete, you have to skip to procedure number 7.
- Using the menu button on VIXIA camcorder, select the (Display Setup) the (HDMI max resolution).
- Select the maximum resolution you want. This will add on the ability of the camera to capture clear picture. Once this step is complete, you return back using the back arrow.
- The last step is to set the web conferencing or live streaming software in order for it to identify the capture device. Once all these is done, the camera is ready for a perfect operation.
For clarity purposes, you can click on www.cla.canon.com.
SETTING UP A CANON CAMERA WITH THE OFFICIAL EOS WEBCAM UTILITY SOFTWARE
An EOS webcam utility software is a software that is compatible especially with Mac users and is used for the streaming purposes. The advantage with it is that it is also compatible with more than 40 Canon cameras. There are no much steps for this option.
- The first step is to download the webcam utility then install it.
- With your camera, you have to turn it on and convert the mode dial into the video which helps to remove any kind of framing lines which might exist.
- Using a USB cable, connect the camera to your computer.
- By selecting the webcam utility as the video source, you can begin the conferencing software.
CONCLUSION
The use of canon cameras as an alternative to the webcam has more advantages as far as the quality of the final picture or video is concerned. There is no much instructions to follow and in addition the cost of installation might be a bit cheaper. You should not fix your attention much …on using the webcam whereas you have a Canon camera that you can use instead.

